Install Windows Server 2025 on the Win Dev Kit 2023

Harnessing the Power of Windows Server 2025 on Microsoft's own Windows Dev Kit 2023.
Microsoft has finally released Windows Server 2025 for the arm64 architecture, which means we can now run this on Microsoft's own Dev Kit. Here's a step-by-step guide on how to do it.
Prerequisites
Before we start, make sure you have the following:
- Dev Kit Recovery Image: Download Here
- Windows Server 2025 (26080.1) from UUPDUMP: Download Here
- Qualcomm Dev Kit Drivers: Download Here
- NTLite: Download Here
- Rufus: Download Here
- Visual BCD: Download Here
- An External USB/SSD drive
TLDR;
You can download the .iso with the drivers already injected here along with all the other required files;
https://mega.nz/folder/hi5HWLbI#9FQvcGhilrf9An2Tkk_iGg
Steps
Pro Tip: Always backup your data before attempting any system installation or modification.
- Set Up Your Workspace: Create a working folder on the root of c:\ named
dev-kit. - Download and Extract the Dev Kit Recovery Image: Move the downloaded recovery image to the 'c:\dev-kit' directory and extract the .zip file.
- Mount the Install.wim File: Use NTLite to mount the
install.wimfile located in the sources directory. - Copy Essential Folders: From the extracted files, copy the following folders:
- Windows\system32\drivers
- Windows\Firmware
- Qualcomm Drivers: Download the Qualcomm drivers from the Github repo, this contains
.cabfiles from windows update which have all the drivers inside which we'll need later on. Download and copy to a new folder inside the dev-kit folder called drivers, likec:\dev-kit\drivers\.- For reference the model we require is
Surface-8280BLKcodenameBlackRock
- For reference the model we require is
- Download and Generate the Windows Server 2025 arm64 ISO: Download the Windows Server 2025 arm64 from UUPDUMP. This should generate a file named
uup_download_windows.cmd. Run this script to automatically create the .iso for Windows Server 2025 arm64. - Load the ISO into NTLite: We need to customise the
install.wimof the generated server .iso and add the drivers we extracted from the dev kit recovery files. - Create the ISO: Choose to create the .iso and let NTLite process it. This will be our bootable image with the drivers injected.
- Write the ISO to the USB/SSD Drive: Use Rufus to write the .iso to your USB/SSD drive. Make sure to choose GPT partition style. Once complete we need to copy the dev-kit folder to the usb drive also so we have all the required files for the next steps.
- Prepare to Boot the Dev Kit: Enter the UEFI settings to enable USB Boot and disable secure boot. To do this, hold down the circle button while pressing the power button, releasing the circle once you have UEFI settings access.
- Boot from the USB: If you're unable to boot into the USB, power down the dev kit, hold the pill-shaped button in and press the power button. Release the pill once you've booted into the USB.
- Install Windows Server 2025: Follow the prompts to configure disks and other settings and install Windows Server.
- Reboot and Launch Repair: Reboot into the USB again and launch repair so you can enter a command prompt, we need to fix the boot loop.
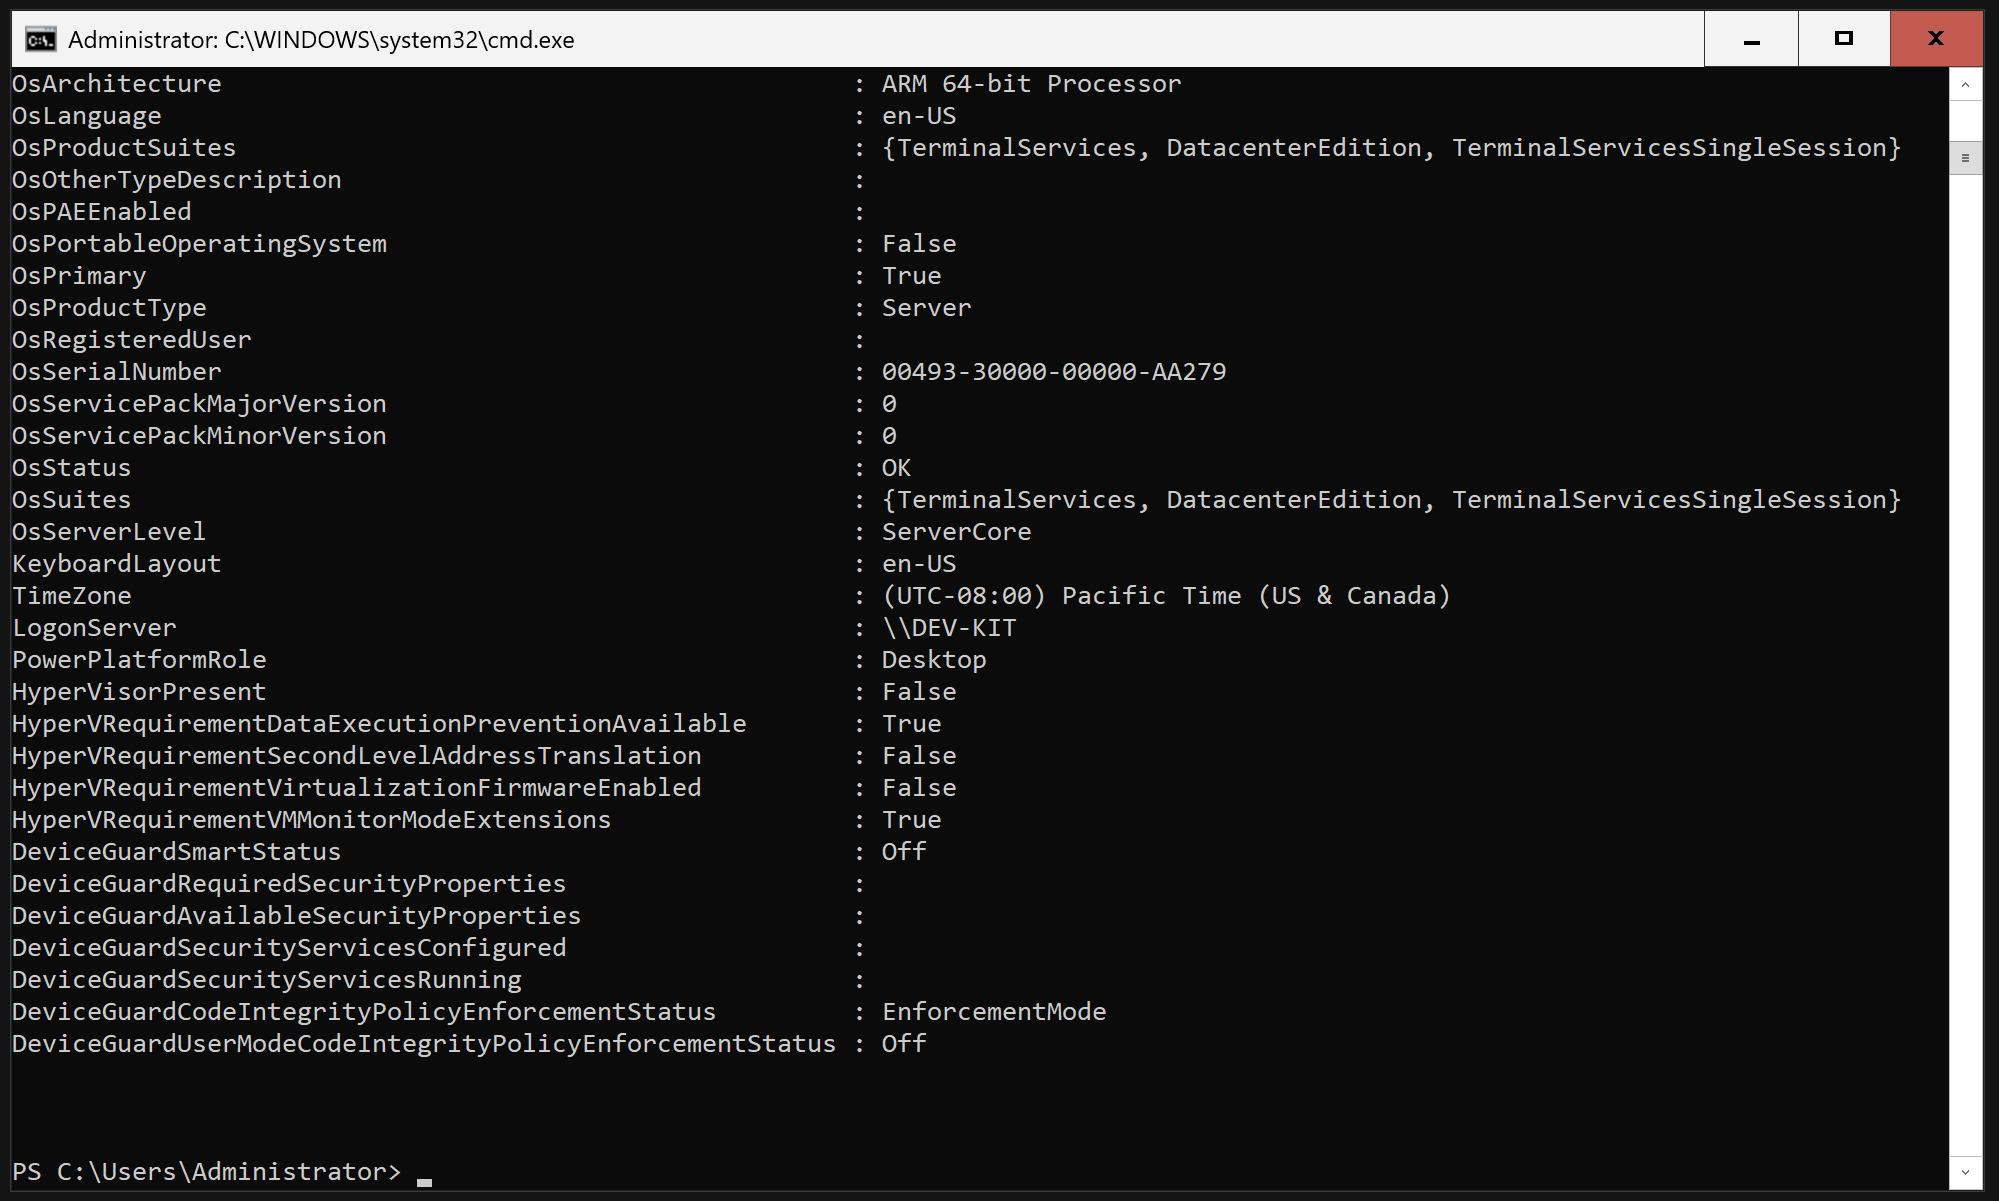
- Disable the EMS Boot Flag: Run the following command
bcdedit /ems {default} offto avoid the boot loop. - Reboot: Your system may reboot a few times before reaching the
sconfigscreen for server core. Nearly there! - Reconfigure UEFI Settings: Re-enable secure boot and disable USB boot in the UEFI settings, making the system more secure and quicker to boot.
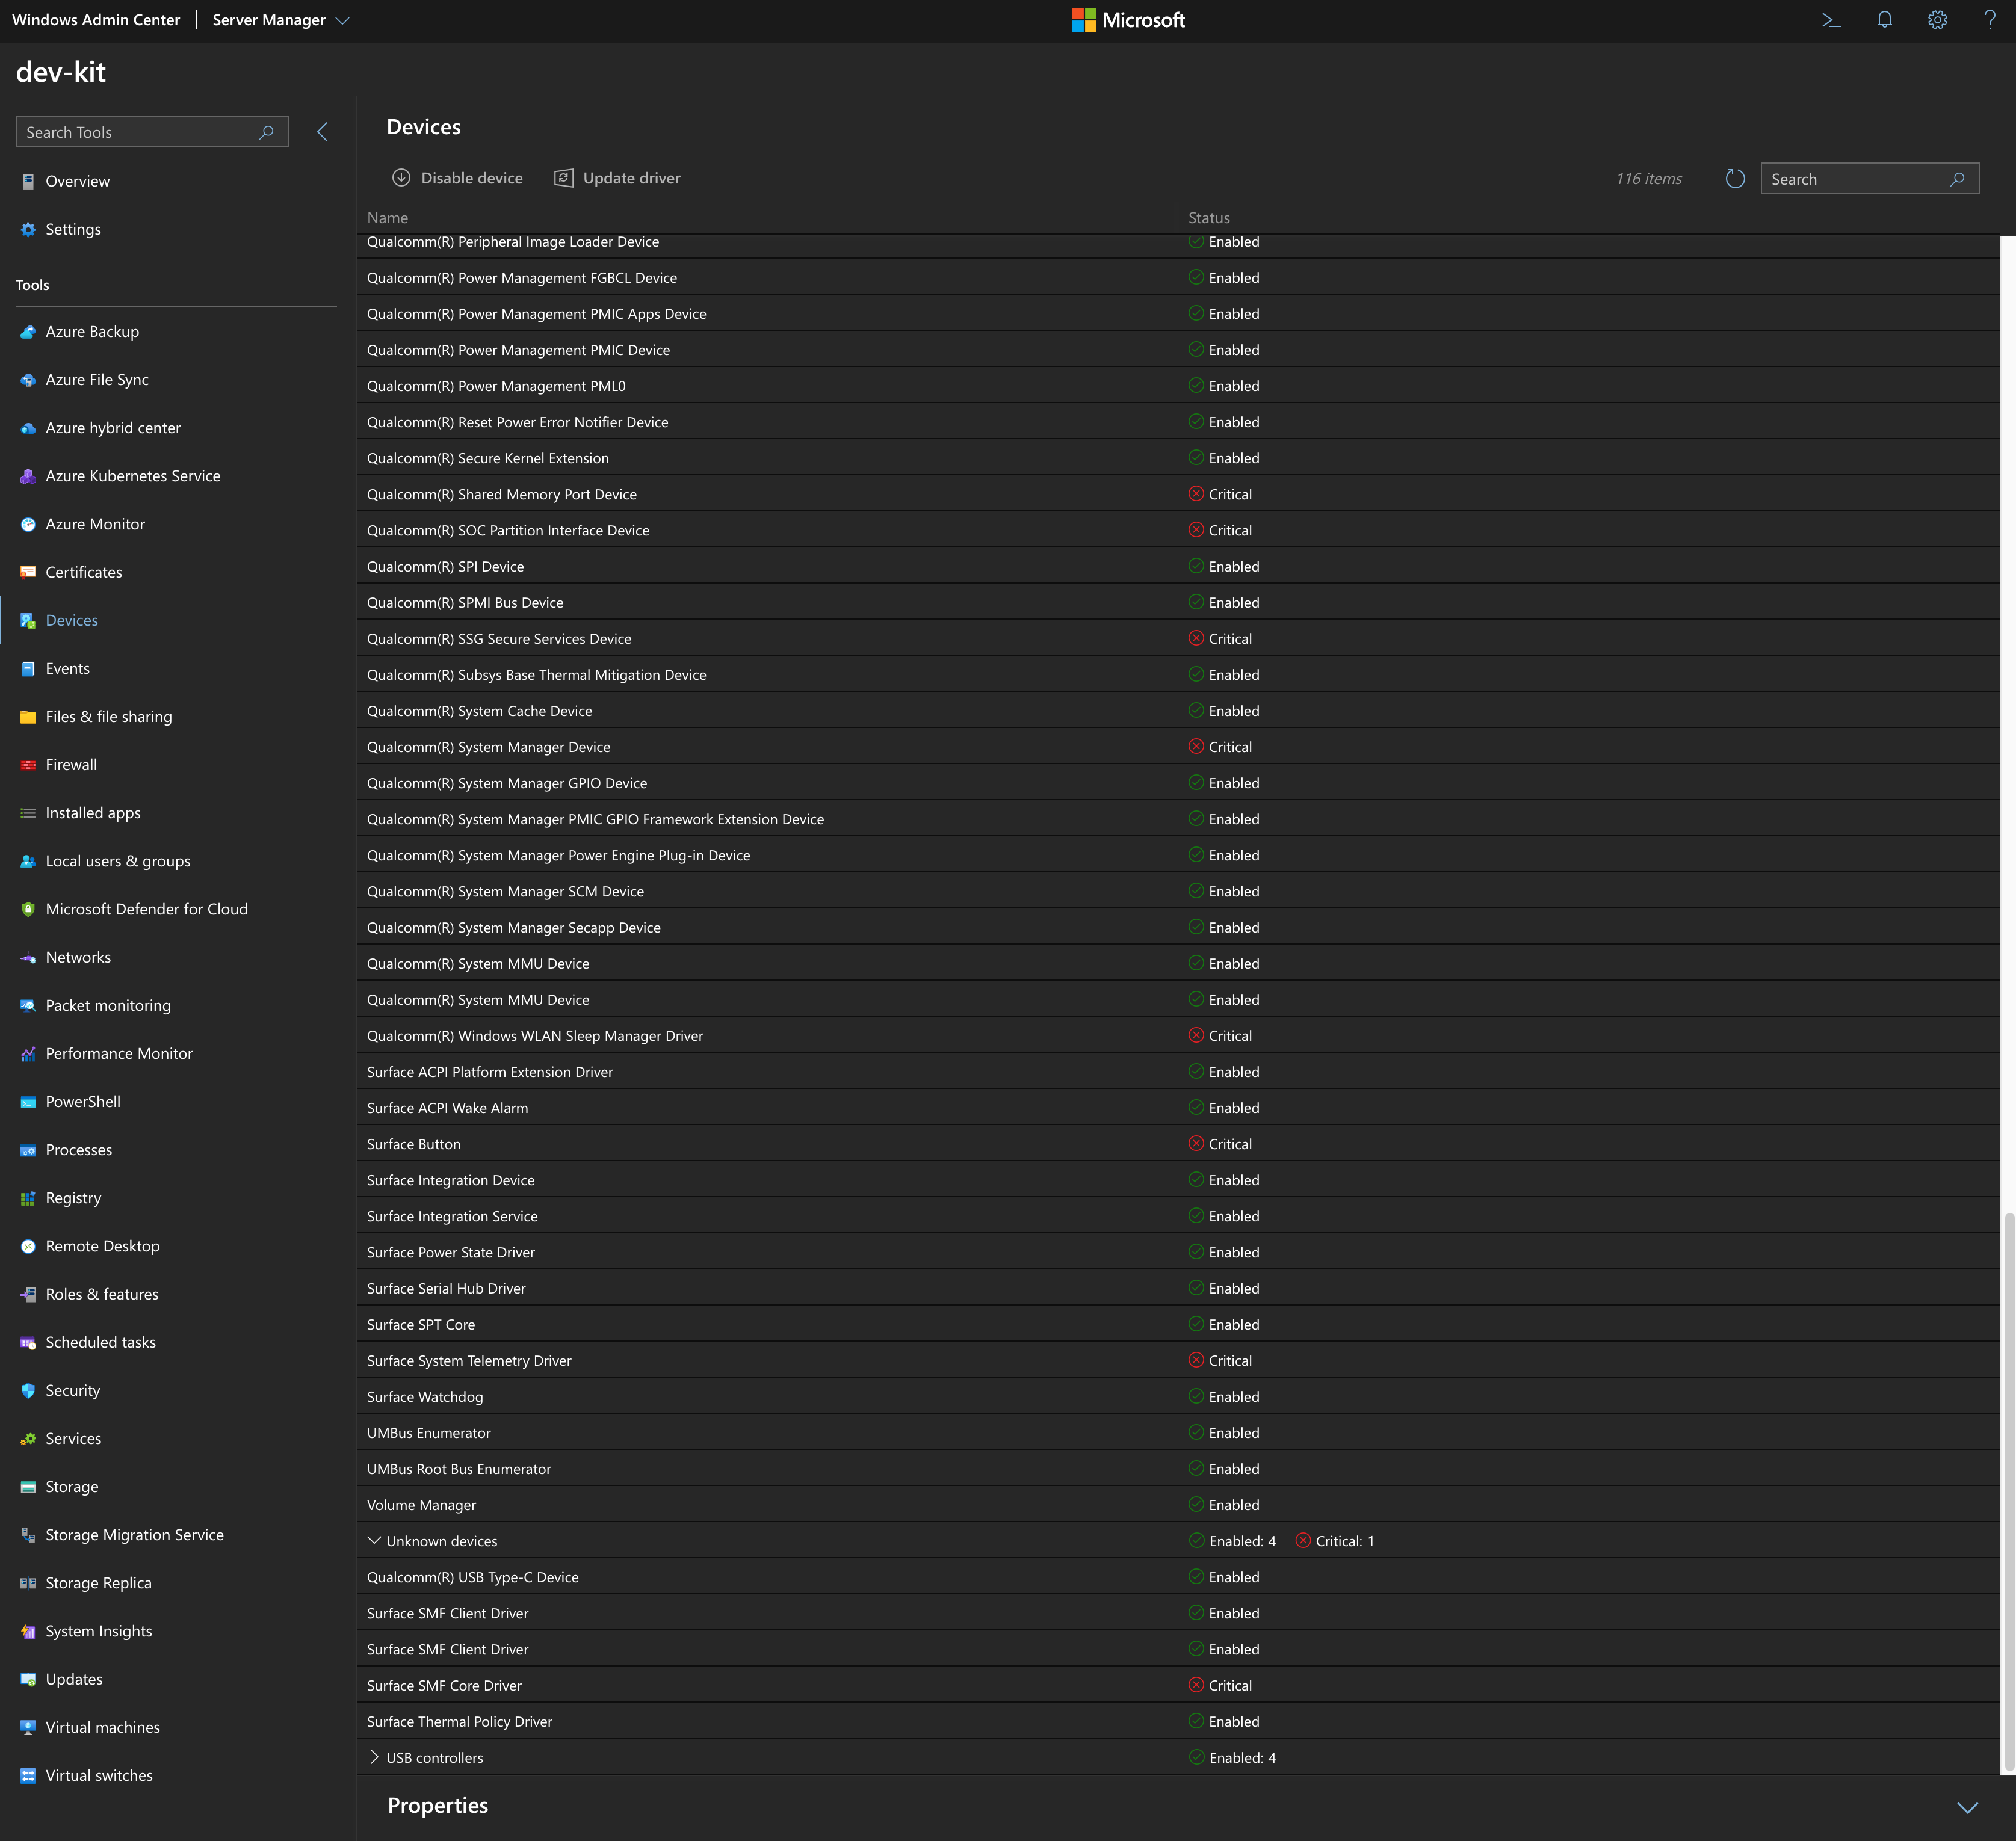
- Configure Windows Server 2025: Set up your fresh Windows Server 2025 server core for first-time use. We need to install some more drivers first.
- Copy and install the drivers: If at the sconfig screen choose option 15 to enter Powershell, the we need to copy all the required files from the USB to the C:\ drive. We run the following commands;
Copy-Item -Path "D:\dev-kit\" -Destination "C:\dev-kit\" -Recurse
pnputil -i -a C:\dev-kit\drivers\*.inf /subdirs
Some more commands to help you along;
Change the Administrator password;
Net user administrator *
Enable remote Powershell;
Enable-PSRemoting
Enable all Hyper V features;
Enable-WindowsOptionalFeature -Online -FeatureName Microsoft-Hyper-V -All
dism /Online /Enable-Feature /FeatureName:Microsoft-Hyper-V /All
Install-WindowsFeature -Name Hyper-V -IncludeManagementTools
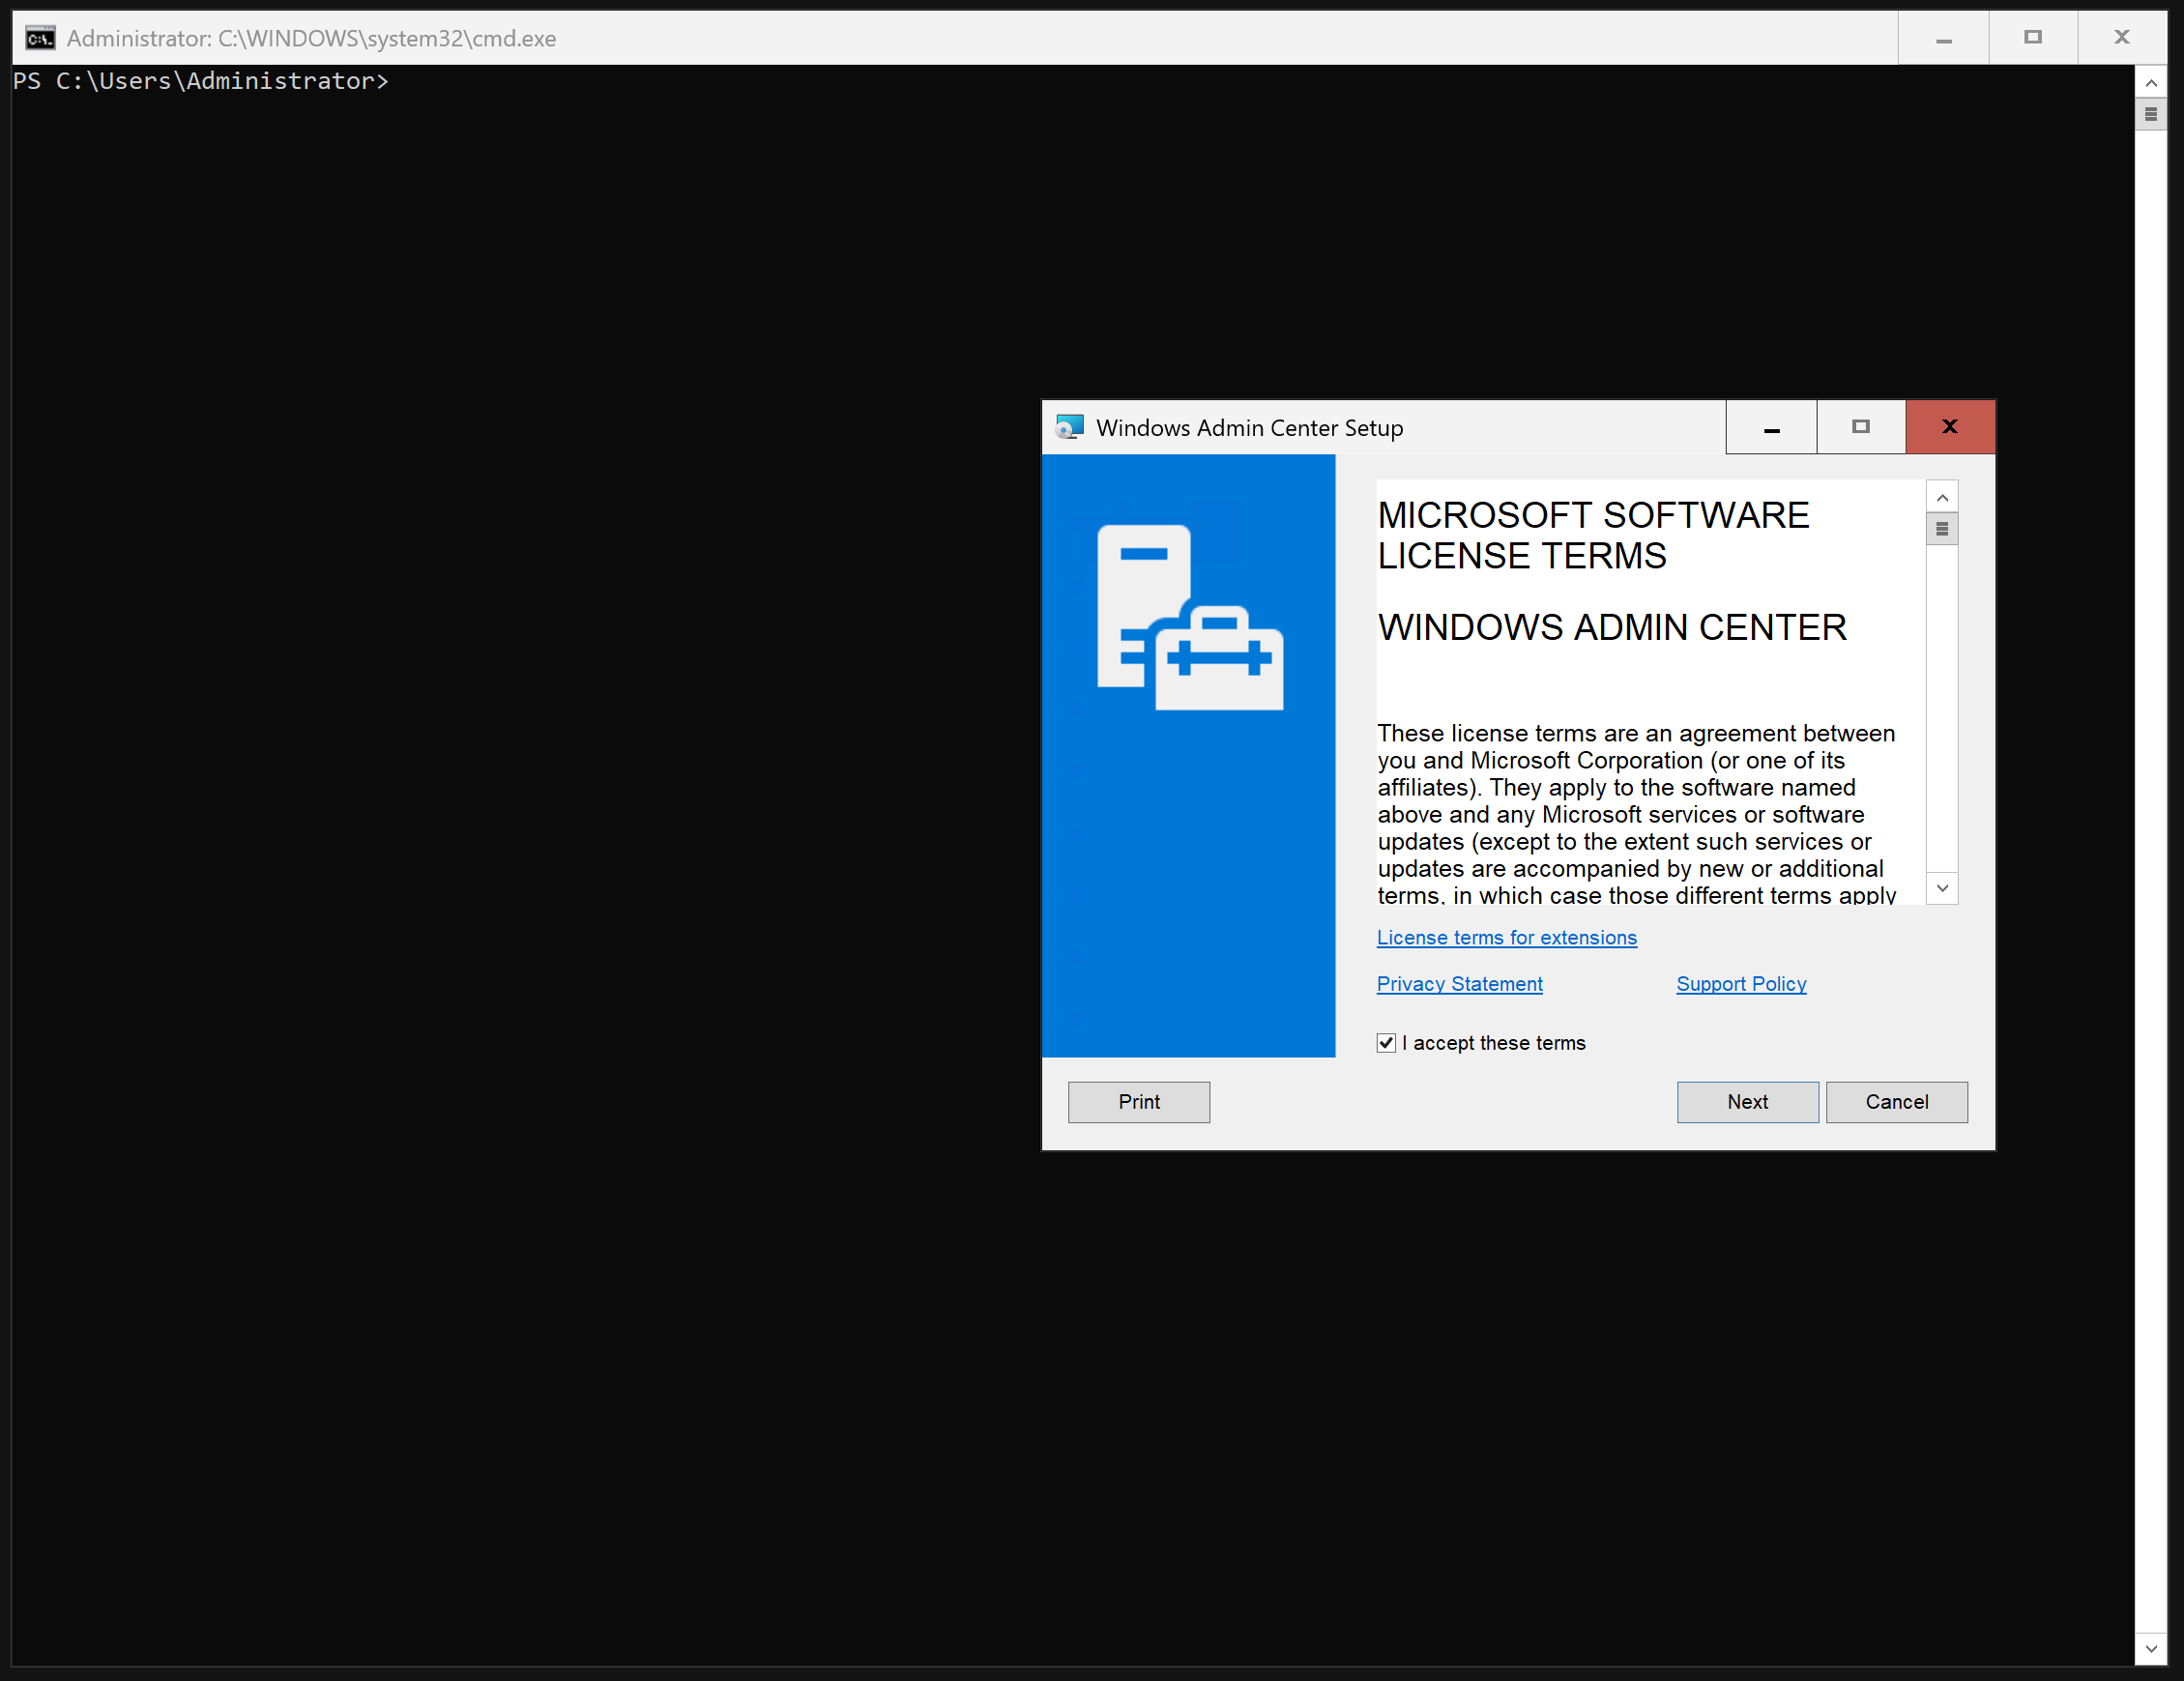
Install Windows Admin Center;
$Path="C:\Users\Administrator\wac.msi"
$URL="https://go.microsoft.com/fwlink/p/?linkid=2194936"
Start-BitsTransfer -Source $URL -Destination $Path
.\wac.msi
Mount Network Share;
net use T: \\192.168.1.101\data password /USER:username /persistent:YES
net use B: \\192.168.1.101\backup password /USER:username /persistent:YES
And there you have it! You're now running Windows Server 2025 on Microsoft's Dev Kit. Enjoy exploring the new capabilities of this powerful server OS on the aarch64 architecture!